Understanding Vapor Barrier Installation
When it comes to maintaining a healthy home environment, Vapor Barrier Installation plays a crucial role. It is essential for preventing moisture intrusion in crawlspaces and basements, which can lead to a range of structural problems and health hazards. In this comprehensive guide, we will delve into the intricacies of vapor barriers, their importance, the materials used, and step-by-step instructions for effective installation.
What is a Vapor Barrier?
A vapor barrier is a material designed to prevent moisture from entering a space, particularly in areas prone to dampness like crawlspaces and basements. It usually consists of plastic sheeting or specialized membranes that create a barrier against water vapor, moisture, and humidity. The most common thickness for vapor barriers is 6 mil, but thicker options are available for greater resistance to punctures and tears. Understanding the role of a vapor barrier is the first step in ensuring your home remains structurally sound and safe.
Why is Vapor Barrier Installation Important?
Vapor barrier installation is fundamental for several reasons:
- Moisture Control: It effectively prevents moisture from seeping into crawlspaces or basements, thus safeguarding the structure from damage.
- Mold Prevention: By controlling moisture levels, vapor barriers help prevent mold and mildew growth, which can pose serious health risks.
- Energy Efficiency: Vapor barriers contribute to a more energy-efficient home by reducing humidity levels, enabling your HVAC system to operate more efficiently.
- Protecting Insulation: Insulation materials can be damaged when exposed to moisture. A vapor barrier protects them, ensuring they retain their effectiveness.
Common Materials Used
The materials used for vapor barriers vary in thickness, composition, and usage scenarios:
- Polyethylene Sheets: The most common material, typically available in 6 mil to 20 mil thicknesses, which vary in durability.
- Foil Barrier: Used in areas with high moisture levels, foil barriers reflect heat and minimize condensation.
- Spray-on Barriers: These liquid-applied membranes offer a seamless solution suitable for irregular surfaces.
- Specialized Membranes: These systems often combine vapor barriers with drainage features, ideal for high-risk areas.
Preparing for Vapor Barrier Installation
Assessing Crawlspace Conditions
Before initiating installation, it is vital to assess the conditions of your crawlspace. Check for existing moisture issues, mold growth, and any signs of water intrusion. Look for:
- Water pooling or damp spots on soil or flooring.
- Structural damage such as rotting wood.
- Existing insulation damage.
Addressing these underlying issues should precede the installation of a vapor barrier to ensure it will function as intended.
Tools Needed for Installation
To ensure a smooth installation of your vapor barrier, gather these essential tools:
- Measuring tape
- Utility knife or scissors
- Stapler or duct tape
- Shovel (if prepping ground)
- Safety goggles and gloves
- Heavy-duty plastic sheeting
Safety Precautions to Consider
Safety should be a top priority when working in crawlspaces or basements. To minimize risks, follow these precautions:
- Wear gloves to protect your hands from sharp objects.
- Use goggles to shield your eyes from dust and debris.
- Ensure proper ventilation while working to avoid inhalation of mold spores.
- Be cautious of uneven surfaces or low clearance areas.
Steps for Effective Vapor Barrier Installation
Clearing the Crawlspace
The first step in installation is to clear the crawlspace of debris, including leaves, dirt, and any old insulation. This step prepares the ground for laying down the vapor barrier. After cleaning:
- Inspect the ground for any significant cracks or holes that could lead to water seeping through.
- Level the surface, filling in any depressions with dirt, to ensure the barrier lays flat.
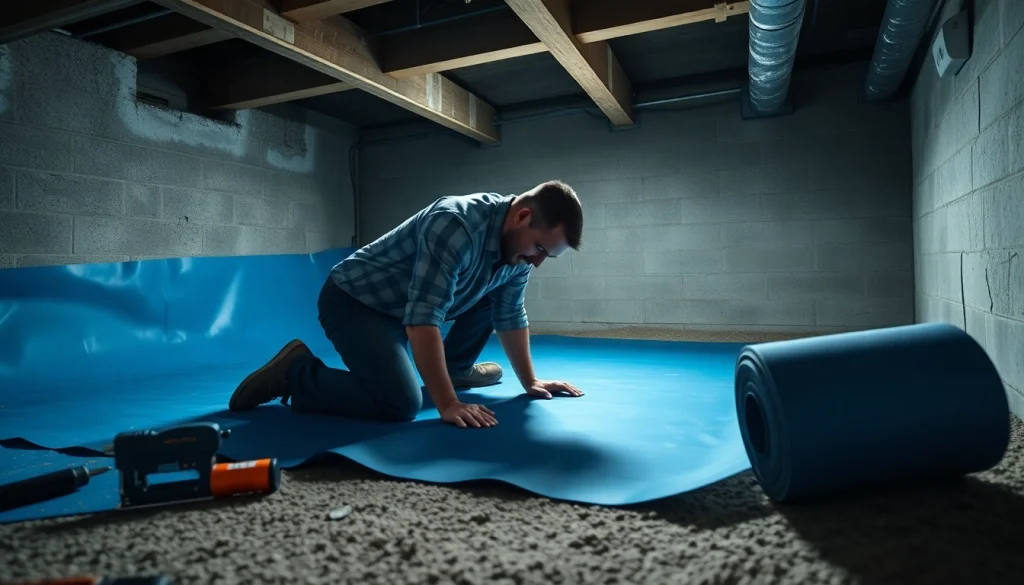
How to Lay Down the Vapor Barrier
Once the crawlspace is clear and prepared, follow these steps to properly lay down the vapor barrier:
- Measure the area and cut the plastic sheeting to size, allowing for overlap at seams.
- Unroll the vapor barrier and lay it flat against the ground.
- Make sure the barrier extends up the walls at least 6 inches, sealing any joints as you go.
Sealing and Insulating Joints Properly
Sealing the joints is crucial for maximizing the effectiveness of your vapor barrier. Here’s how to do it right:
- Overlap the edges of the vapor barrier by at least 12 inches.
- Seal these joints with heavy-duty tape or duct tape to prevent any moisture ingress.
- If there are any penetrations (like pipes), ensure they are sealed tightly around the edges.
Common Challenges in Vapor Barrier Installation
Dealing with Moisture and Condensation
Moisture can still be a challenge even with an installed vapor barrier. To combat this:
- Consider adding a dehumidifier in your crawlspace to manage humidity.
- Ensure proper drainage around your home’s foundation to direct water away.
Addressing Uneven Surfaces
Uneven surfaces can lead to installation issues. To mitigate this:
- Gradually fill any uneven spots with soil before laying down the barrier.
- Use thicker vapor barrier materials where surfaces may be particularly rough.
Ensuring Proper Ventilation
While vapor barriers are crucial, good ventilation remains essential. A well-ventilated crawlspace helps prevent moisture buildup:
- Install vents to allow air circulation, particularly if the area is prone to humidity.
- Regularly check vents for blockages or damage that may restrict airflow.
Maintaining and Inspecting Your Vapor Barrier
Regular Inspection Schedule
Post-installation, a regular inspection schedule is critical to ensuring the integrity of your vapor barrier:
- Inspect your crawlspace at least twice a year, focusing on any signs of moisture or damage.
- After heavy rain or snowmelt, check for water intrusion or condensation.
Signs Your Vapor Barrier Needs Repair
Be vigilant for signs that your vapor barrier may require repairs. Look for:
- Puddles of water or damp spots on the barrier.
- Mold or mildew growth on the surface.
- Tears or punctures that could compromise the barrier’s effectiveness.
Tips for Long-lasting Performance
To ensure the longevity of your vapor barrier, consider these best practices:
- Regularly clean and maintain the crawlspace to avoid buildup that can tear the barrier.
- Monitor humidity levels to ensure they remain within a healthy range.
- Consider re-sealing joints every few years to maintain their integrity.
Frequently Asked Questions
What is a vapor barrier used for?
A vapor barrier is used to prevent moisture from entering crawlspaces or basements, protecting against mold, mildew, and structural damage.
How thick should a vapor barrier be?
A 6 mil thickness is common, but thicker options (up to 20 mil) offer better durability and resistance to punctures.
Can I install a vapor barrier myself?
Yes, installation can be a DIY project if you have the right tools and follow safety precautions, but seeking professional help is recommended for complex situations.
How often should a vapor barrier be inspected?
Inspect your vapor barrier at least twice a year, especially after significant weather events that could lead to moisture issues.
What happens if I don’t install a vapor barrier?
Neglecting to install a vapor barrier can lead to severe moisture problems, contributing to mold growth, structural damage, and compromised indoor air quality.